Along with the heating and cooling and water heater, your clothes dryer is typically in the top three energy users in the home. And compared to the other two, it’s far easier to eliminate many cycles of clothes drying. You can use a foldable drying rack (and here are some effective tips to hang clothes to dry inside if you decide to go that route). In more humid regions, a great alternative to the foldable drying rack is to have a clothesline…though for many reasons (space, renters can’t usually put permanent fixtures in, etc.), a more subtle option may be best.
Enter the retractable clothesline: a simple, elegant, and really effective tool in your journey toward financial freedom. These little devices can save a family of four hundreds of dollars a year, and over their lifetime, add thousands to your bank account.
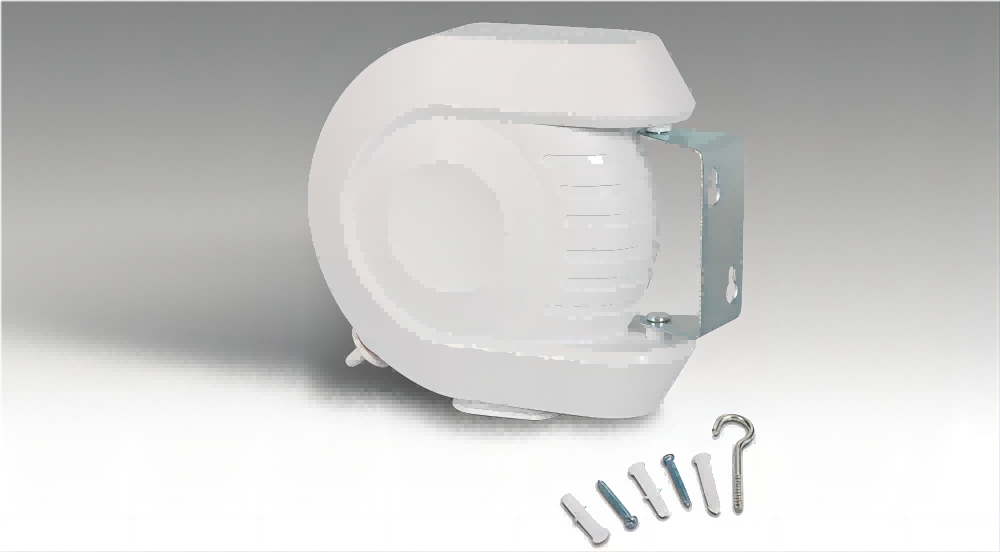
Retractable clotheslines
These little devices are kind of like a spool – the clothesline itself is wound up tightly within a housing that protects it from weather and keeps it clean. And like a tape measure, you can pull out the line, and then allow it to coil itself back up when you’re done with it. So you don’t need a lot of room!
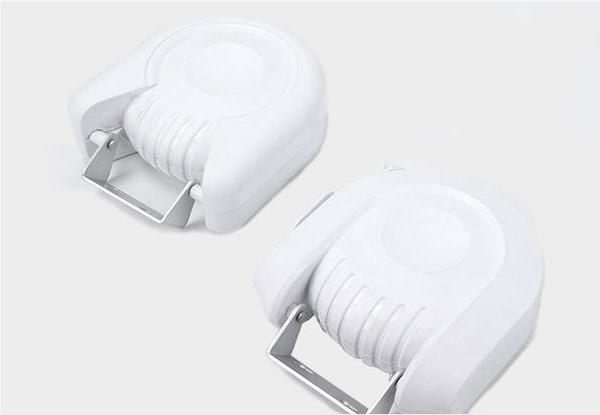
There are many types of retractable clotheslines. Some have multiple lines. Installation and use tips are similar, so here I just present a simple one-line clothesline.
To install, you’ll need:
drill
retractable clothesline package, which includes the clothesline, screws, screw anchors, and the hook.
Step 1 – figure out where you want your retractable clothesline, and line it up. Put the clothesline up on the surface you want to bolt it into. Use a pencil to put two dots on the surface AT THE TOP of the teardrop shaped holes in the metal mount on the clothesline.
Step 2 – drill holes. Drill a small hole (about half the diameter of the screws you’re going to use) on each mark you made. In this case, I mounted this to a 4×4 piece of lumber, so no need for the plastic anchors pictured in the kit above. But if you’re mounting to drywall or another less stable surface than solid lumber, you will want to drill a big enough hole to get the anchors in. The anchors can be gently tapped with a hammer (notice I didn’t say “hammered”! haha) until they are in the hole. Once in, you can use your screwdriver or drill to insert the screws.
Leave the screw about a quarter inch away from being flush to the surface.
Step 3 – mount clothesline. Slide the metal mount over the screws, and then down into place so that the screws are at the top of the teardrop shaped portion of the holes.
Step 4 – screw the screws in. Once the clothesline is hung, use your drill or a screwdriver to drive the screws as flush as possible to secure the clothesline in place.
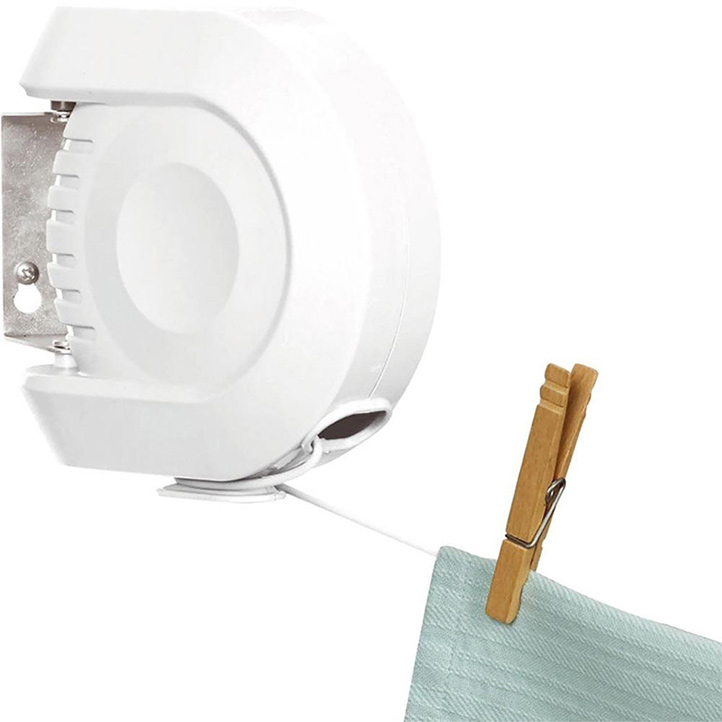
Step 5 – Drill a hole for the hook and screw it in. Wherever the end of the clothesline is going to be, put in the hook.
And you’re all set! You can now begin using your clothesline.
Post time: Jan-04-2023