Retractable clothes lines are pretty straightforward to install. The same process applies to outdoor and indoor lines.
Before you start, work out where you want to attach the line casing, and where you want the extended line to reach. You'll need to work with solid walls here – an old fence or plasterboard won't take the weight of a load of wet laundry.
Find a good spot for the casing, such as the house or garage wall, then work out where the extended line will reach. What can the hook be fastened to at the other end? The lone could run between the house and garage, or garage and shed. If there isn't anything, you may need to install a post.
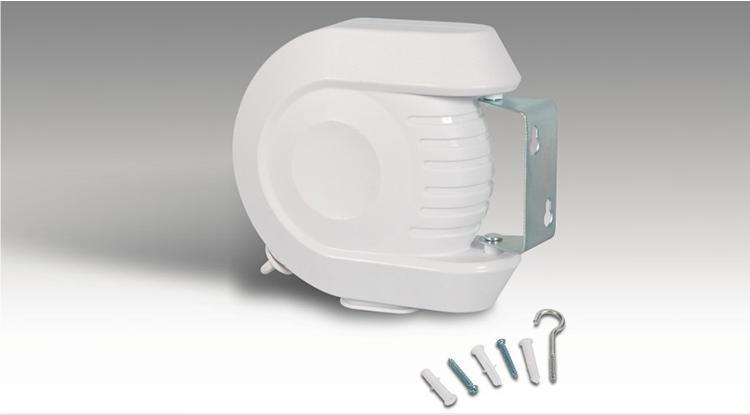
Most retractable clothes lines come with all the fastenings you need, so you'll just need a pencil and a drill. Bear in mind that you may be drilling into masonry.
1. Hold the casing up to the wall, and decide what height you need. Remember that you have to be able to reach it!
2. Mark where you want the screws to go by holding up the mounting place and marking where the screw holes are.
3. Drill the holes and put in the screws. Leave them sticking out about half an inch.
4. Hang the mounting plate on the screws, then tighten them.
On the opposite wall (or post), drill and small hole and firmly attach the screw. This needs to be the same height as the base of the casing.
There's an extra stage to the process if you don't have a conveniently situated place to put the hook. You may need to put up a post. You'll need a long post that's treated for outdoor use, cement mix, and ideally, a friend to help.
1. Dig a hole about a foot to a foot and a half deep.
2. Fill about a third of the hole with cement mix.
3. Put the post in the hole, then fill the rest of the hole with the mix.
4. Check it's straight with a level, then stake the post in place with rope to hold it in its straight position. Allow at least a day for the concrete to set before removing the stake and ropes.
Post time: Aug-01-2022