Installing a clothesline is a practical and environmentally friendly way to dry your clothes while saving energy. Whether you want to reduce your carbon footprint or just enjoy the fresh scent of dried clothes, this guide will show you how to install a clothesline effectively.
1. Choose the right clothesline
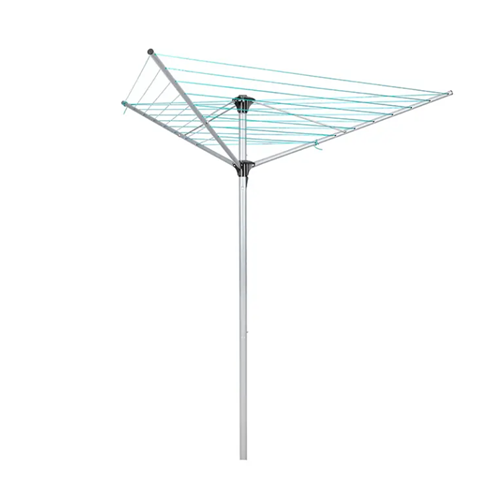
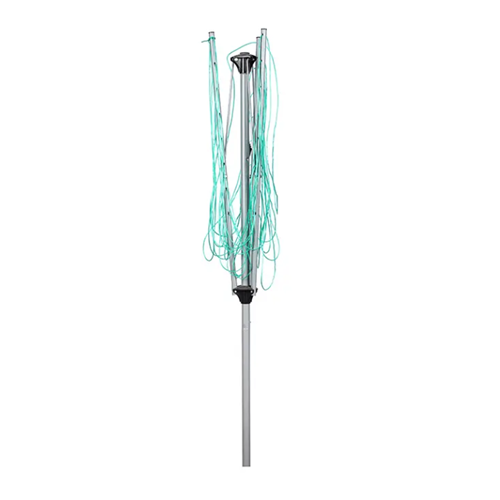
Before you begin the installation, it's important to choose the right type of clothesline for your needs. There are a variety of clotheslines available, including retractable clotheslines, rotating clotheslines, and traditional fixed clotheslines. Consider factors such as the space available in your yard, the amount of laundry you typically dry, and your budget.
2. Prepare the installation area
Once you have chosen your clothesline, the next step is to prepare the area for its installation. Choose a location that is sunny and sheltered from the wind. Make sure the area has no obstructions such as trees or fences that could affect the drying process. Measure the space to determine the best location for the clothesline.
3. Required Tools and Materials
Before you begin installation, gather all the necessary tools and materials. Typically you will need:
Clothesline kit (includes rope, pulley and bracket)
drill
Level A
tape measure
Concrete mix (if installing columns)
Shovel (for digging holes)
Safety goggles and gloves
4. Step by step installation process
Step 1: Mark the location
Use a measuring tape to mark the locations of the posts or brackets. Make sure they are spaced appropriately for the type of clothesline you choose.
Step 2: Dig holes and place the posts
If you are installing a permanent clothesline, dig holes for the clothesline posts. Make the holes about 2 feet deep to ensure stability.
Step 3: Set up the columns
Place the post in the hole and use a level to make sure it is plumb. Fill the hole with the concrete mix and allow it to set according to the manufacturer's instructions.
Step 4: Install the Bracket
For retractable or wall-mounted clotheslines, use a drill to attach the brackets to the wall or stud. Make sure the brackets are securely fastened.
Step 5: Install the wiring
Thread the clothesline through the pulley or secure it to a bracket, making sure it is taut but not too tight.
5. Installation method
Depending on the type of clothesline, installation methods may vary. For example, a rotary clothesline may require different installation methods than a wall-mounted clothesline. Always refer to the manufacturer's instructions for specific guidance.
6. Install clotheslines on different surfaces
If you are installing the clothesline on a concrete surface, you may need to use concrete anchors to secure the bracket. If it is a wooden surface, wood screws will suffice. Always make sure that the installation method is appropriate for the surface type to avoid accidents.
7. Safety precautions
Safety is your primary concern when installing a clothesline. Wear goggles and gloves to protect yourself from debris and sharp tools. Make sure there are no children or pets around during installation.
8. Consider hiring a professional clothesline installer
If you are unsure about the installation process, or lack the necessary tools, consider hiring a professional clothesline installer. They can ensure your clothesline is installed correctly and safely, giving you peace of mind.
All in all, installing a clothesline is a very rewarding DIY project that can improve your laundry habits. Just follow the steps below and take the necessary precautions, and you’ll be reaping the benefits of line-drying your clothes in no time.
Post time: Jul-28-2025